Explore pool designs in Port Macquarie with smart layout tips and pool privacy screen ideas. Plan your ideal space and read our guide today.
Explore luxury pool designs for 2026 with smart pool privacy ideas, pool privacy screen ideas and pool privacy screens. Get inspired and plan now.
Plan your pool installation in Port Macquarie with clear cost, budget, and extras and hidden fees insight. Avoid surprises and get started today.
Discover stylish fibreglass pools in Port Macquarie. Explore pool designs, low-maintenance benefits and fast pool installation. Enquire today!

Discover surprising pool benefits beyond fun. Learn how swimming pools boost health, lifestyle and value in Port Macquarie. Enquire today.
Upgrade your home with expert pool installation in Port Macquarie. Skilled pool builders add value with smart features, style and safety. Call today!
Learn how soil and terrain impact pool installation in Port Macquarie. Work with expert pool builders for a smooth, cost-effective result.
Explore smart pool designs in Port Macquarie. Transform your small backyard pool with compact pool design and plunge pool ideas. Start today.
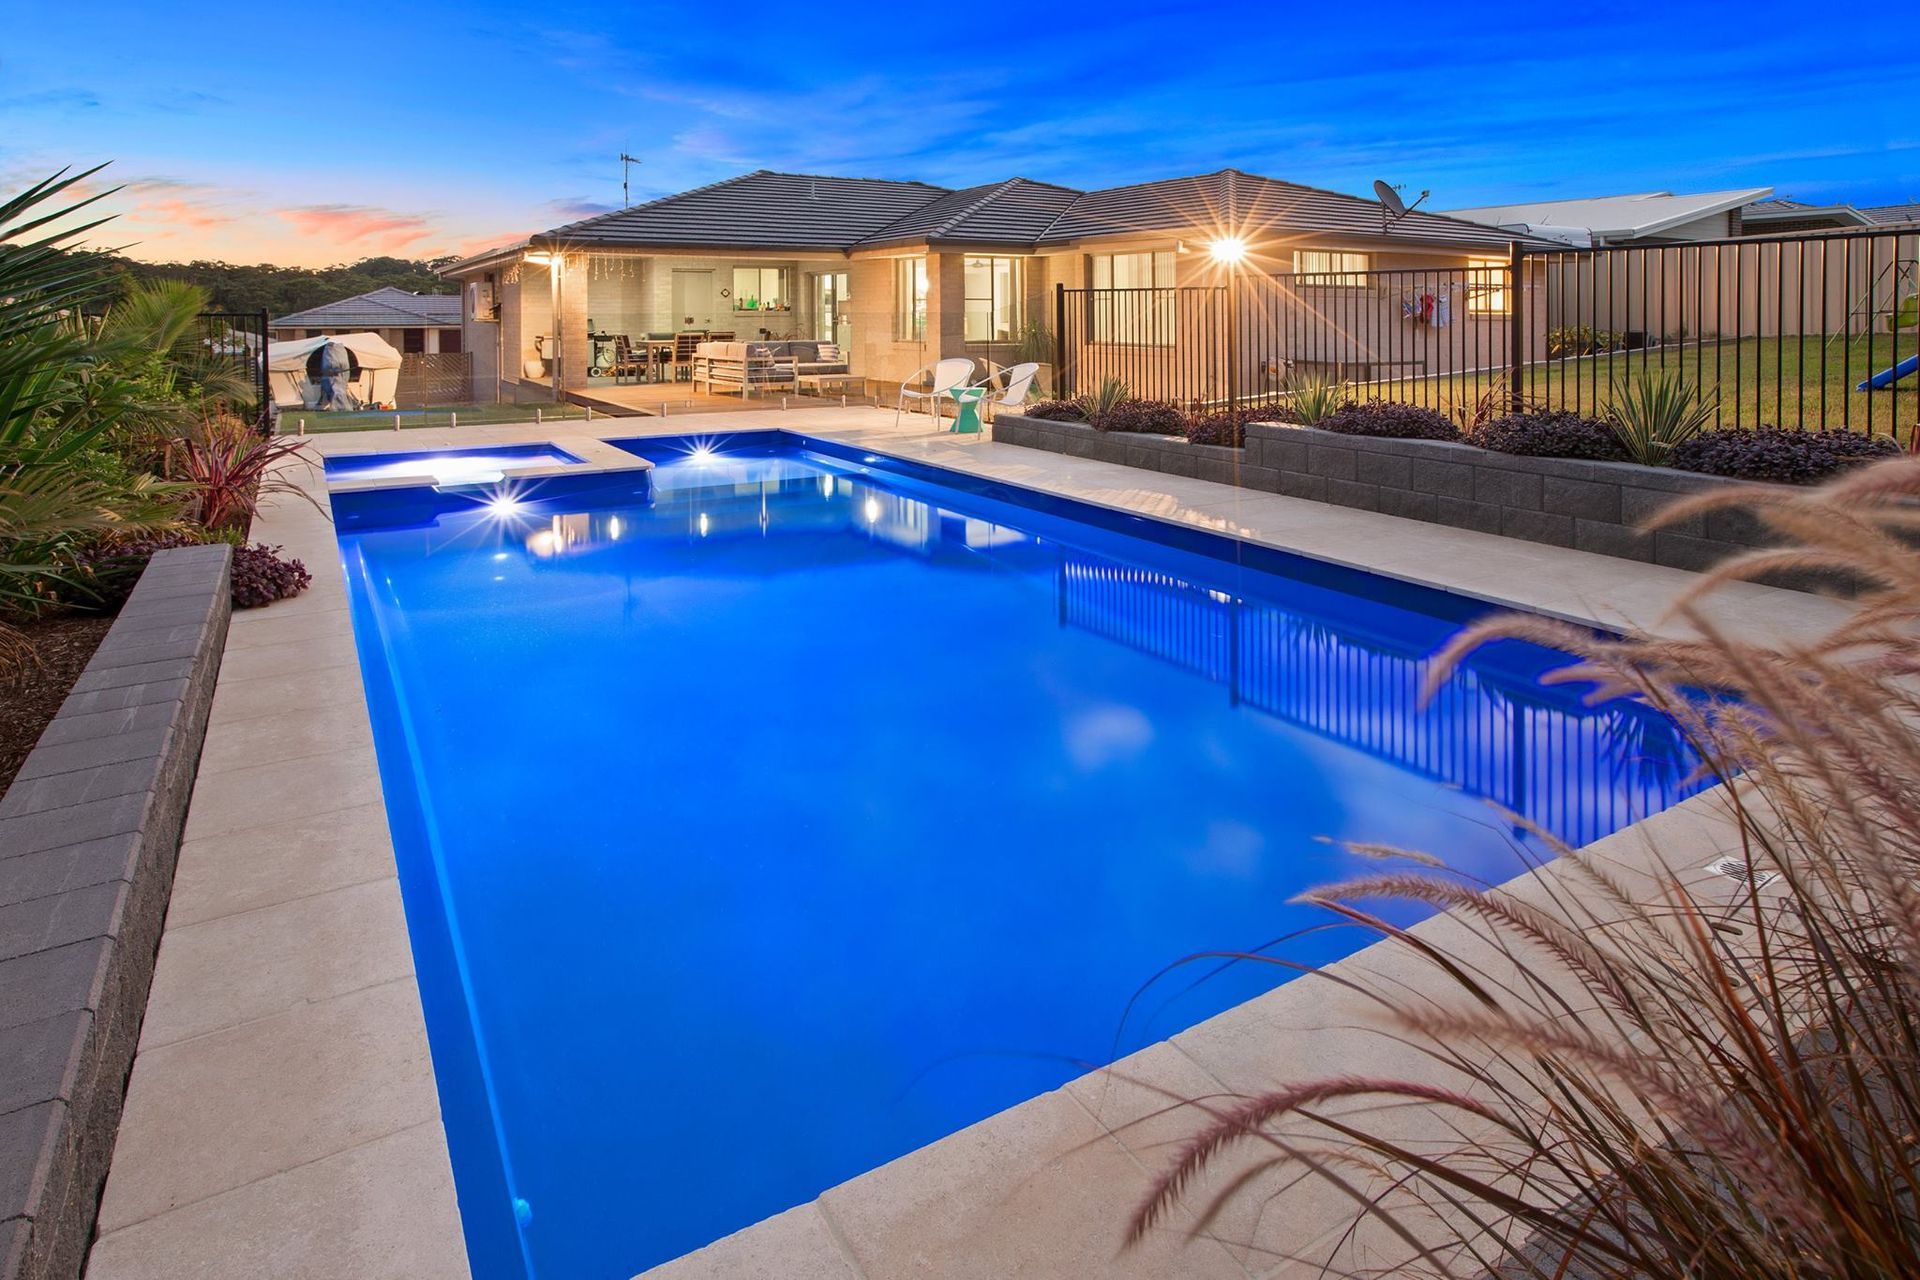
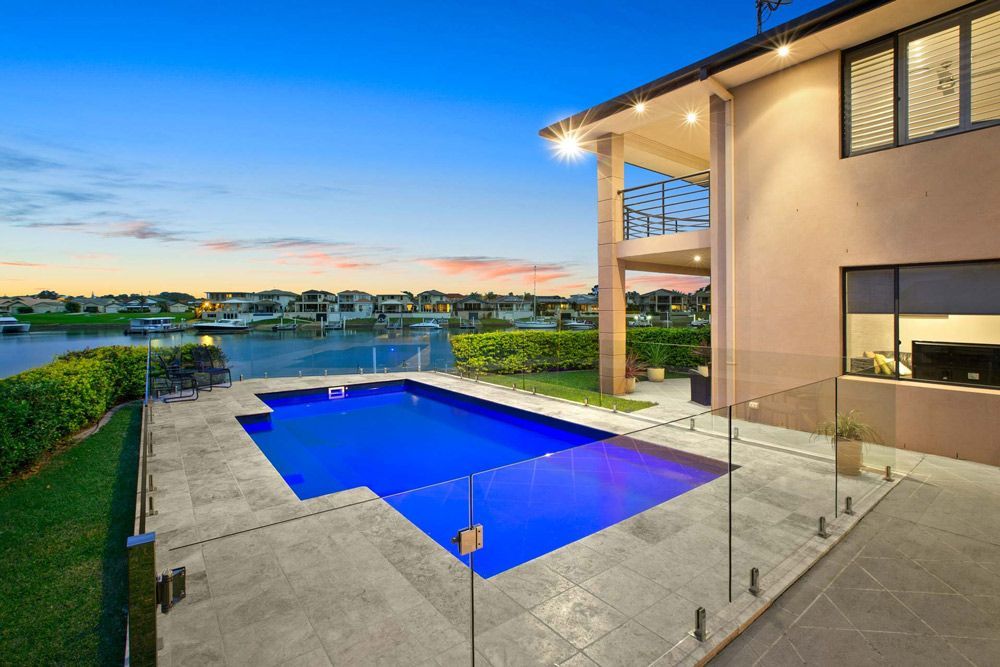
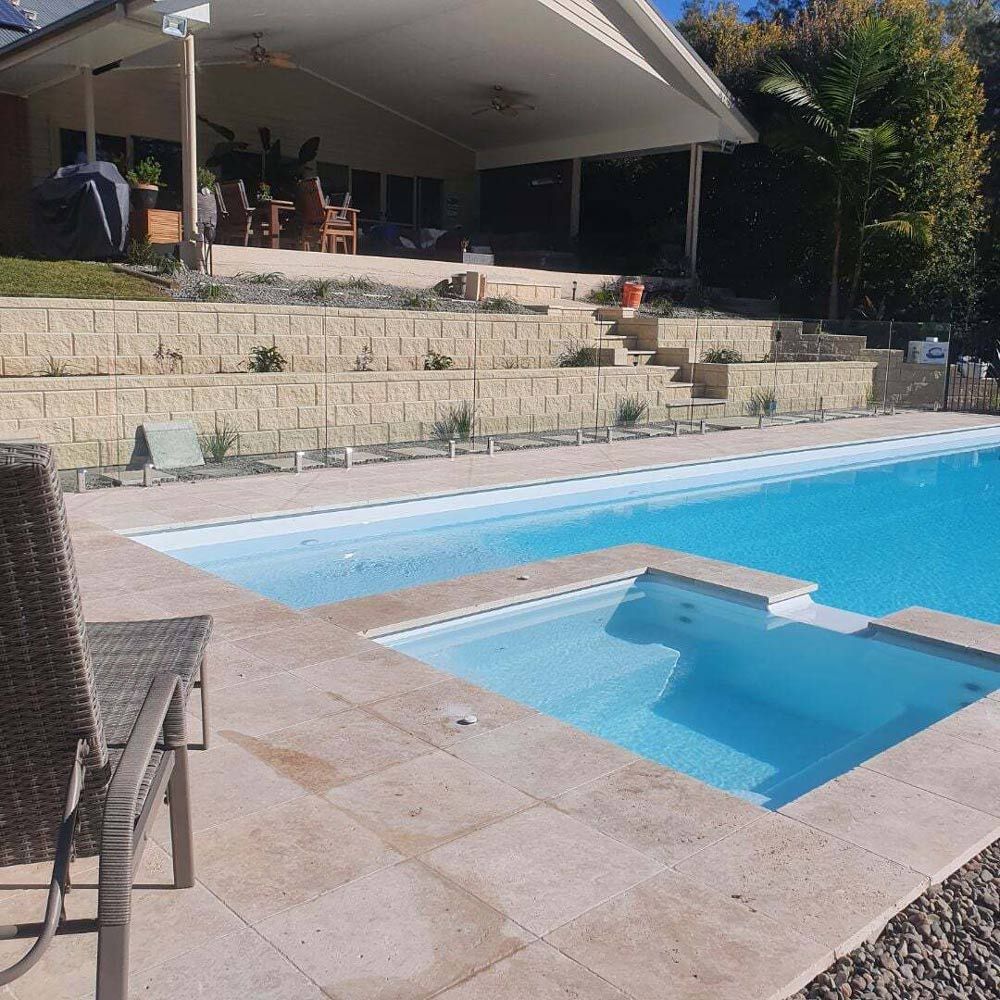
Summer is the perfect season to spend time outdoors with family and friends. Explore our range of Gibson Family pools and start splashing around today.


